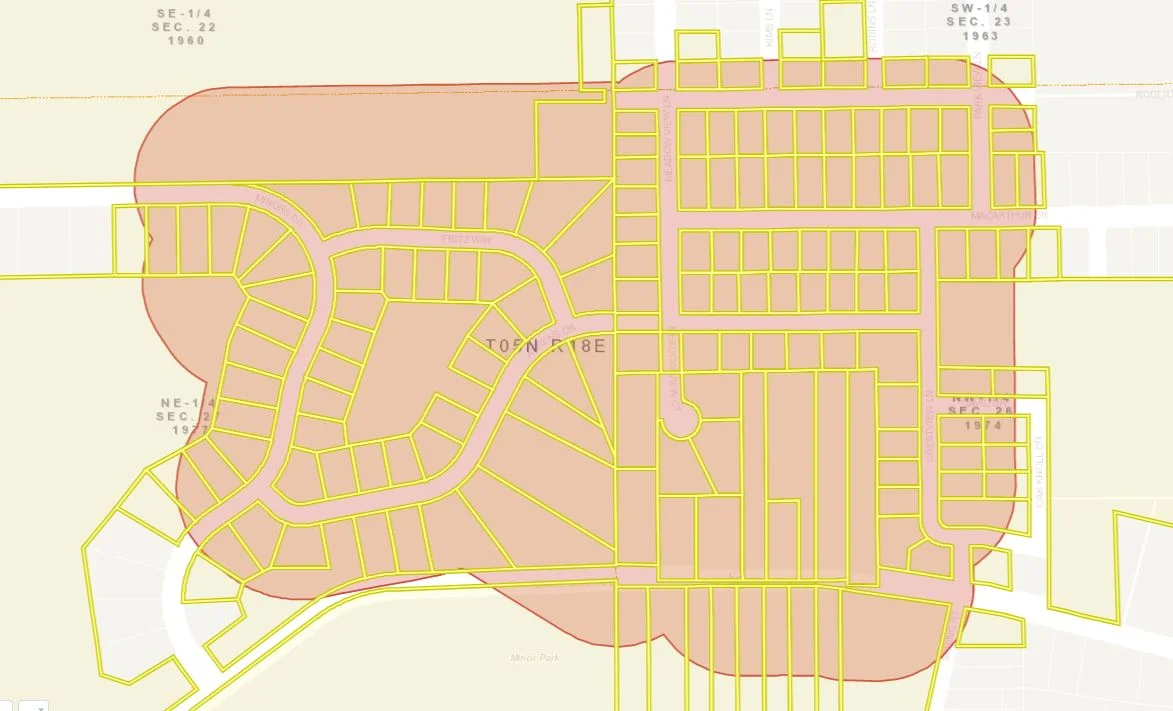
Learn how to use your buffering tool to its full potential! Not only is your buffer tool able to create a buffer around a selected feature or point, it can create a buffer around multiple targeted features. First, identify a layer that you want to target for your buffer. The best way of doing this is by using the "Identifiable Layers" tool, found within the identify tool.
Use the Identifiable Layers Tool to distinguish which features you want to target for your buffer. For this exercise, we are going to only identify the "Tax Parcels" layer.
Now, use the identify tools in order to obtain a few parcels in your results pane.
After you are satisfied with your identified area, click the little menu button in the top right of Identify Results. It's outlined in red below. This brings up the results menu where you can click "Show Buffer Options" to buffer around the identified parcels (or other identified features if applicable).
In the "Buffer Options" window, select your desired distance and units to determine the size of your buffer zone.
Once your buffer parameters are set, click continue. The buffer zone will appear around your targeted features and a list of the features that fall within your buffer will be accessible on the left hand side of the window under the "Identify Results" list. You are able to identify multiple layers within a buffer, but for this exercise we just worked with the tax parcel layer to keep things simple.
If you would like help using this feature in your application, please reach out to us and we can step you through the workflow. Good luck--and happy buffering!


